Magic Mirror Build
Build overview of the popular modular smart mirror platform(MagicMirror).
Motivation
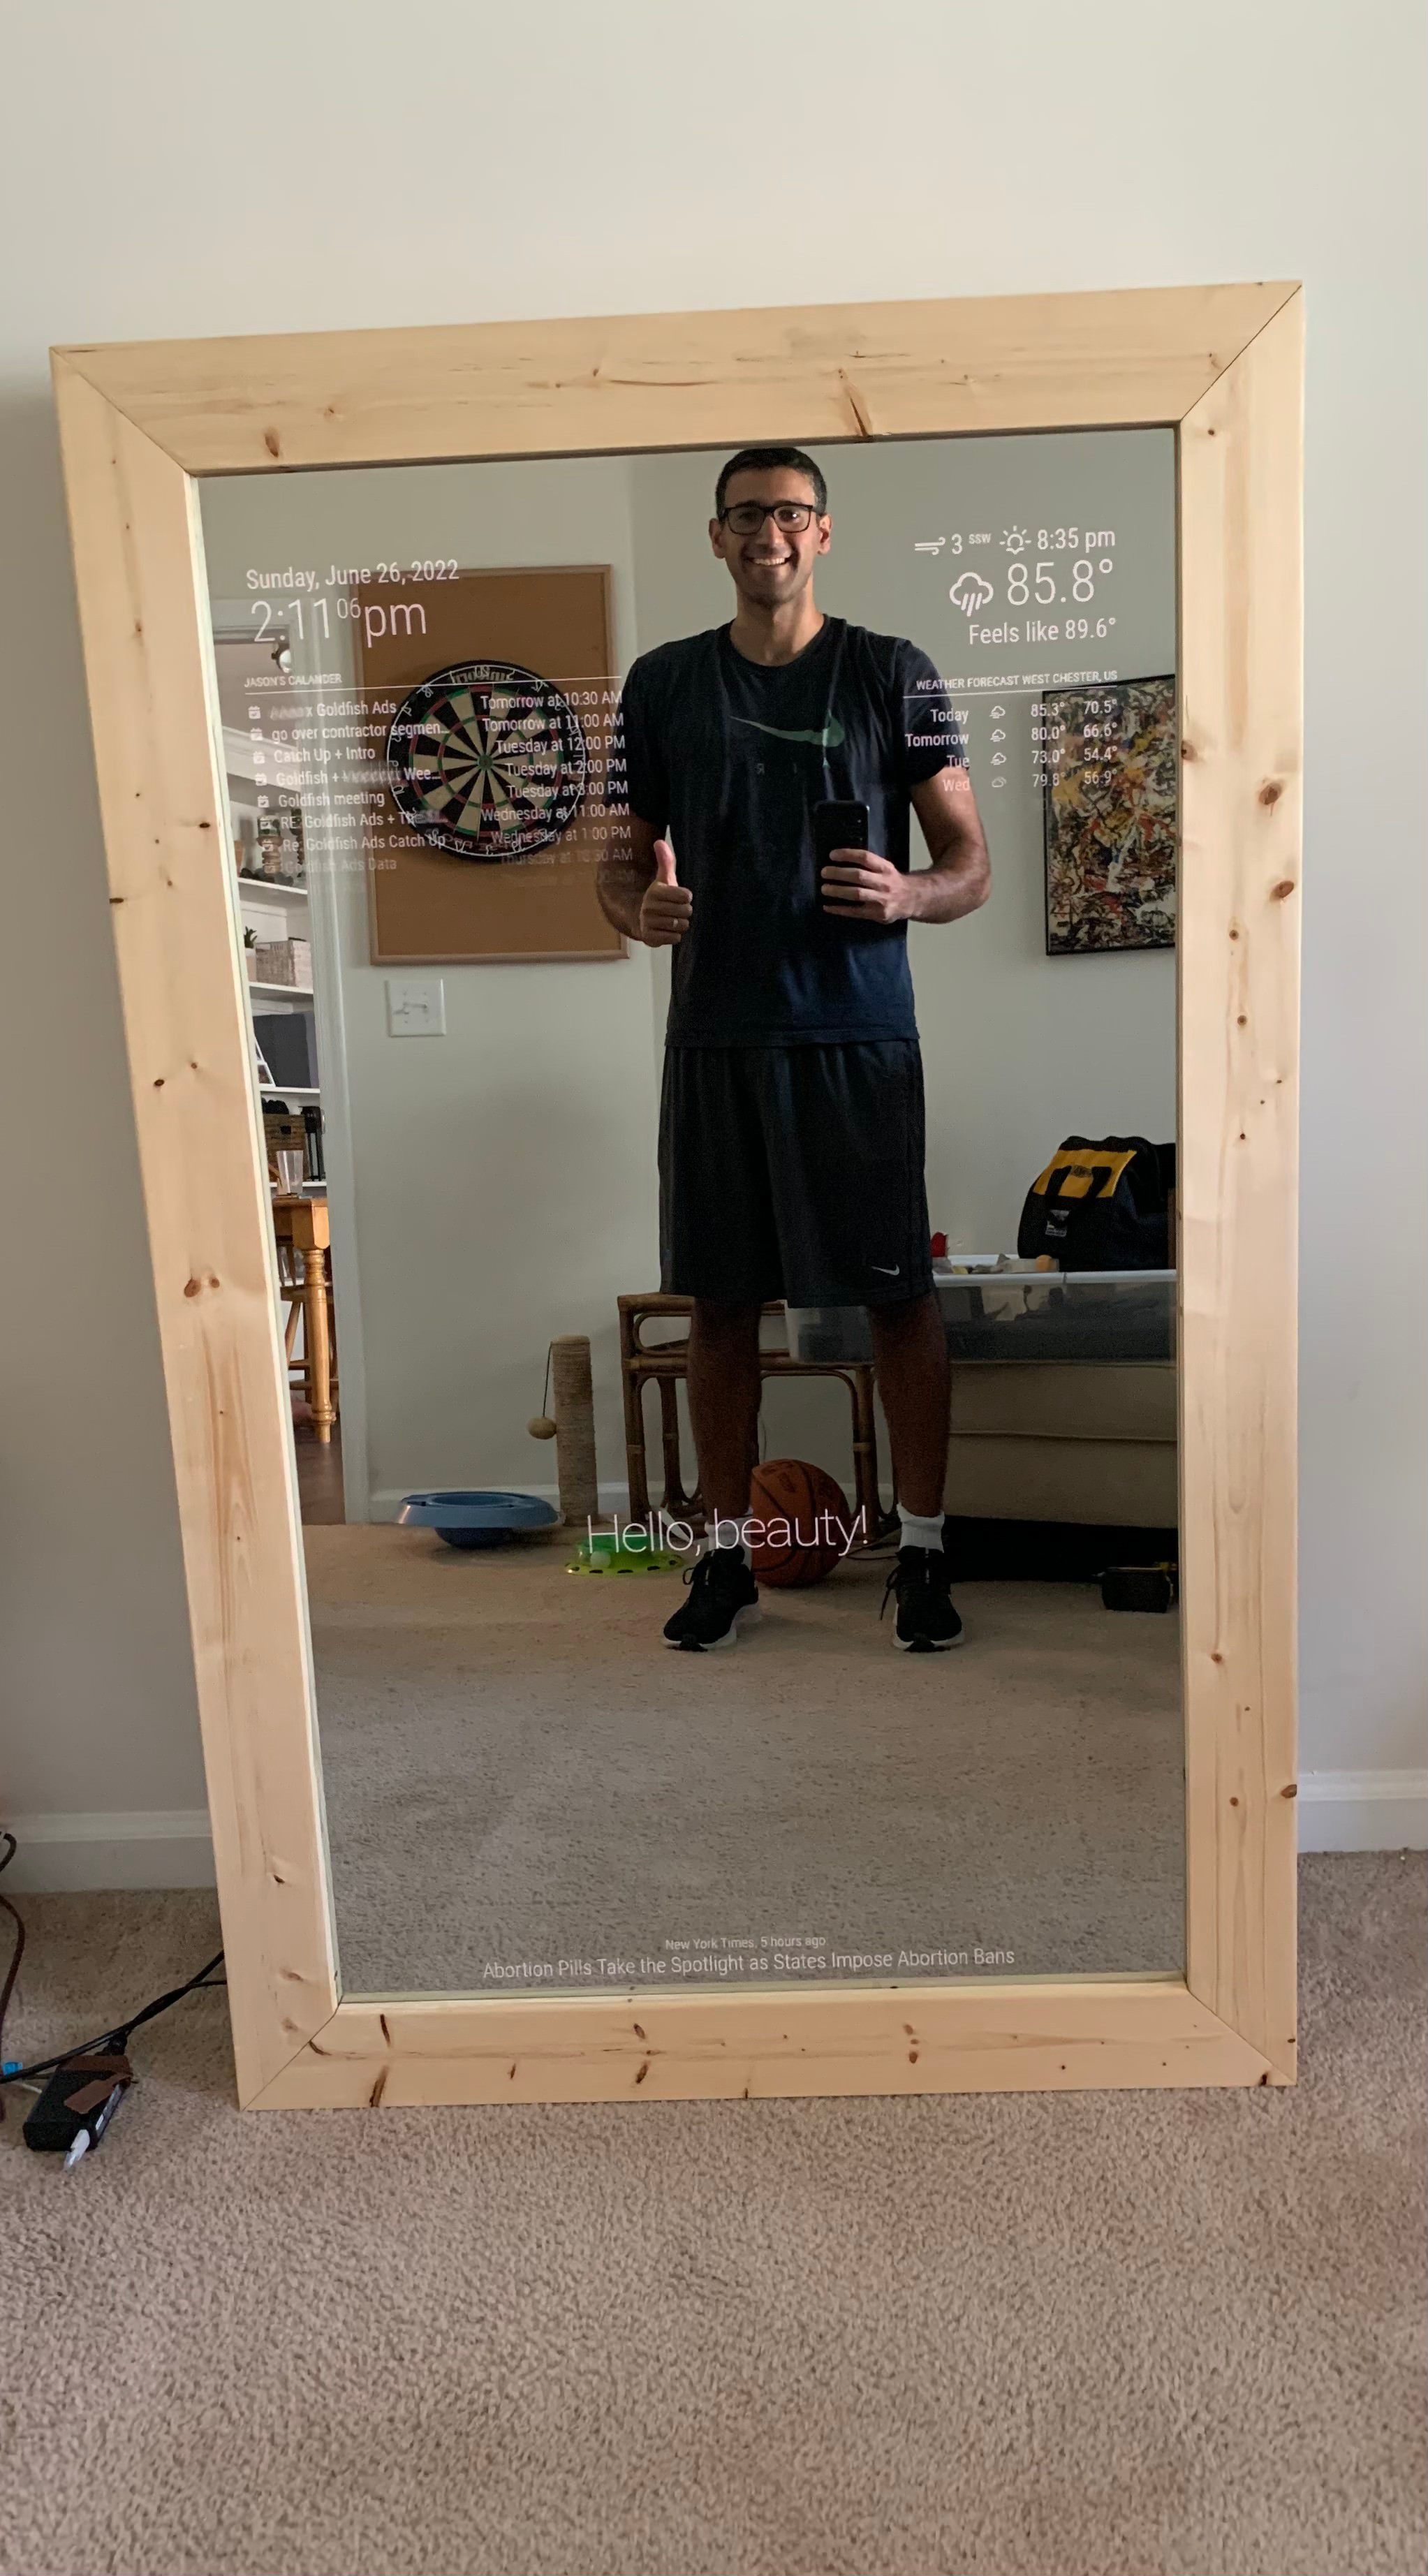
Finished Vertical Magic Mirror - more photos at the bottom
There’s something futuristic and magical about the way the picture displays through the mirrored surface. It’s a calendar, clock, meteorologist, news reporter, DJ, and mirror all at the same time.
I’ve always wanted to build a magic mirror ever since the GitHub library was published back in 2016. Then in 2022, a neighbor was throwing out a working 55” flatscreen TV. As the TV was one of the larger costs associated with building a Magic Mirror, this lucky break was the start of the magic mirror project. Additionally, our company Goldfish Ads is starting to explore how Magic Mirrors might be deployed as DOOH screens.
Plans
Frame
Originally I planned to build the outside part of the frame using 2x4s and then mount trim molding on the top edge to create an oriental frame appearance. I ended up settling with 1x3 furring strips instead of the trim molding(trim is kinda expensive and figured i could always upgrade). All of the joints were created using pocket holes. This created a great look on the frame since no screws were visible once it was fully assembled. Click here to see the CAD model of the frame. A special thanks to my brother-in-law for helping/letting me use his tools.
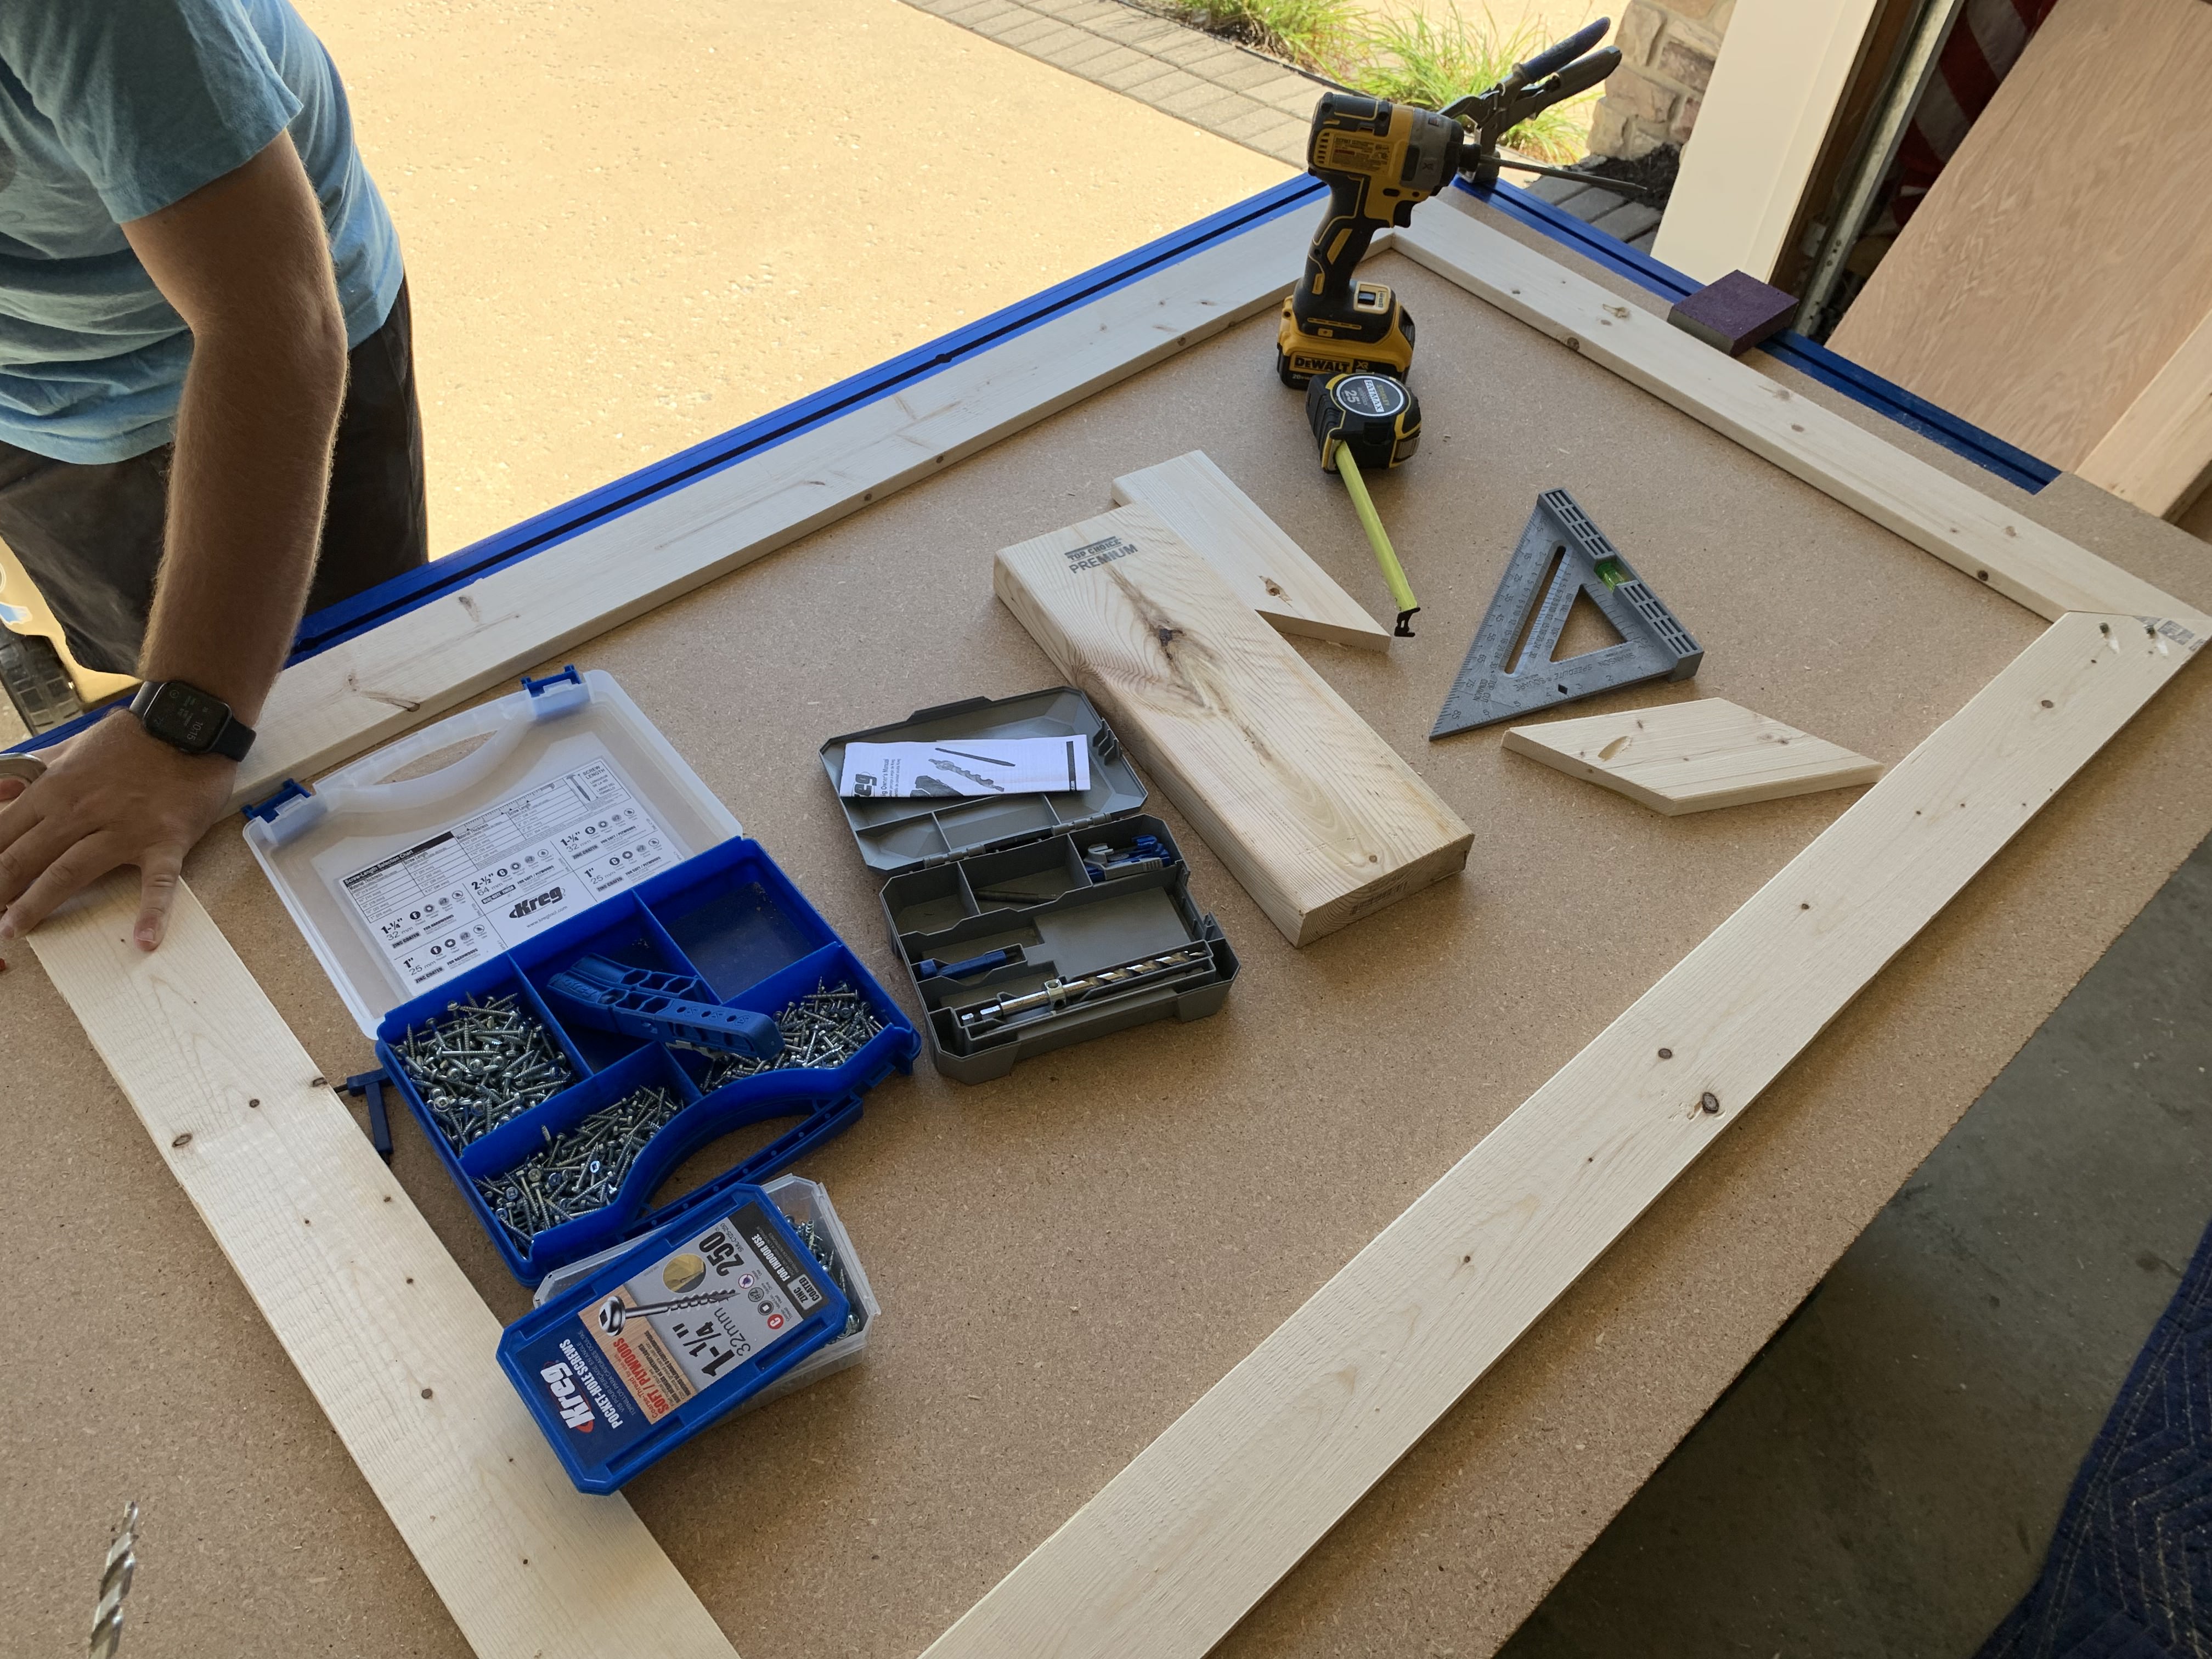
1x3 furring strips in a rectangle
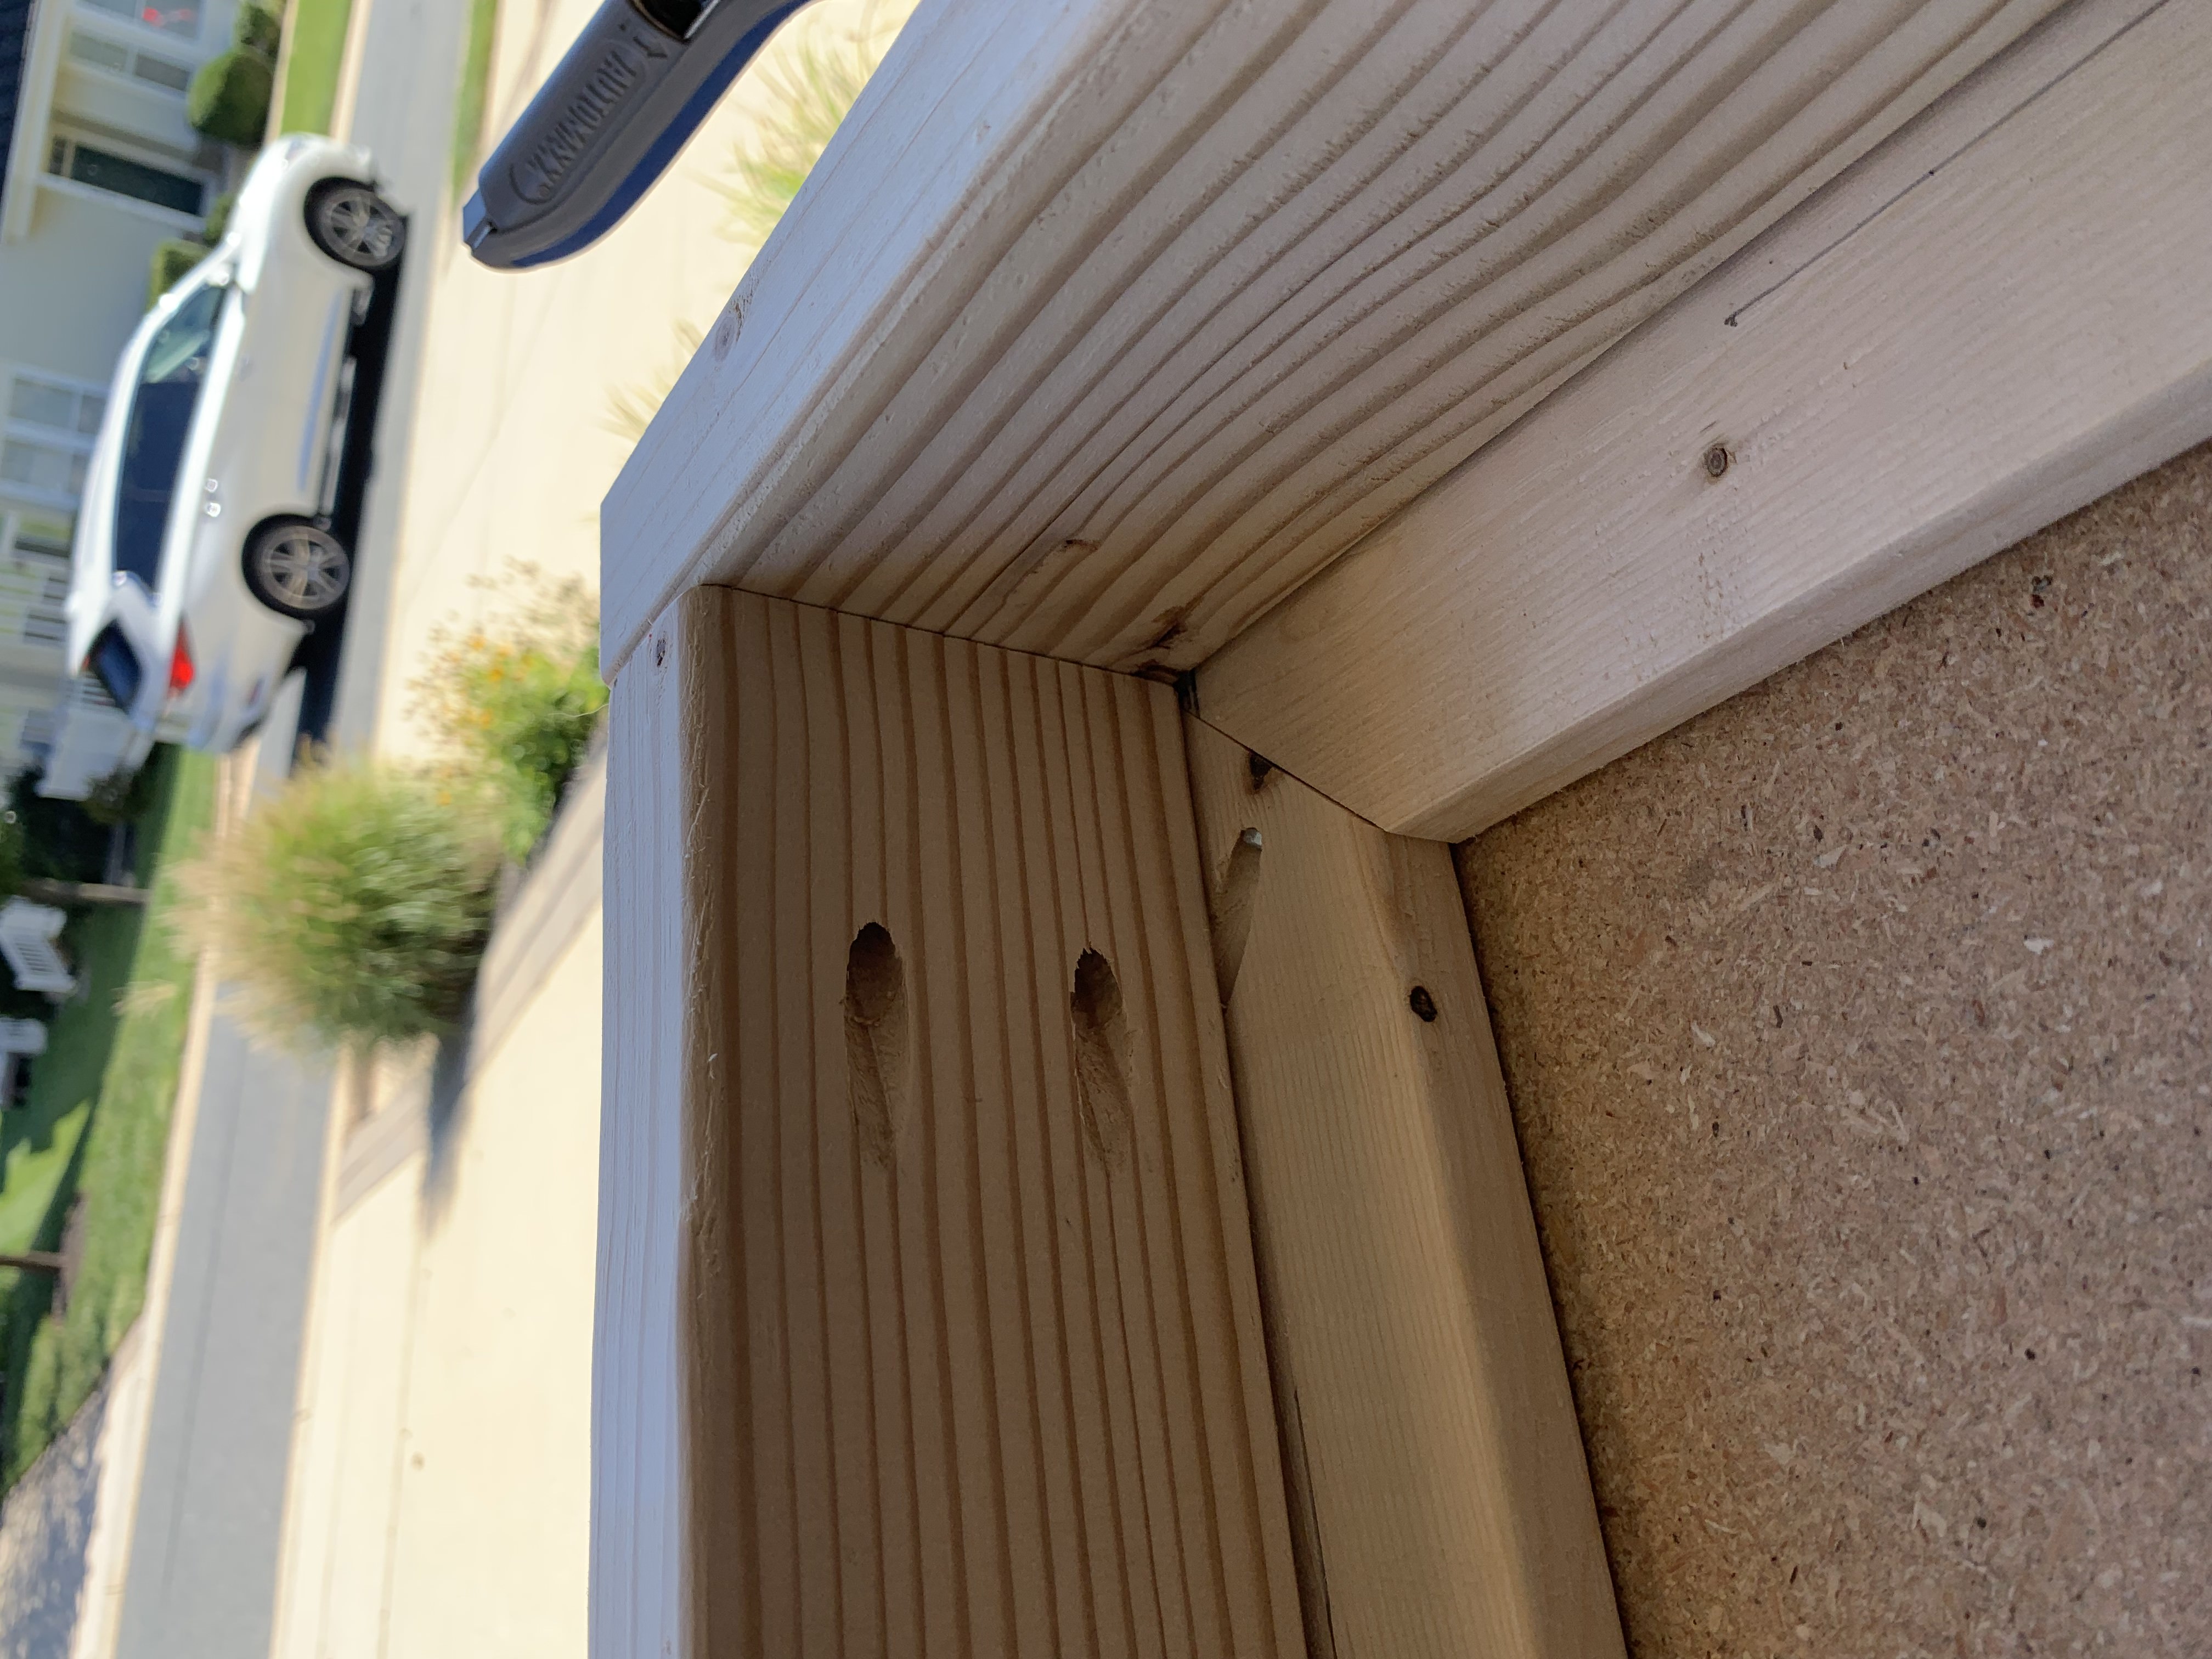
Close up shot of the pocket screws. We used pocket screws on the top 1x3's and the side 2x4's
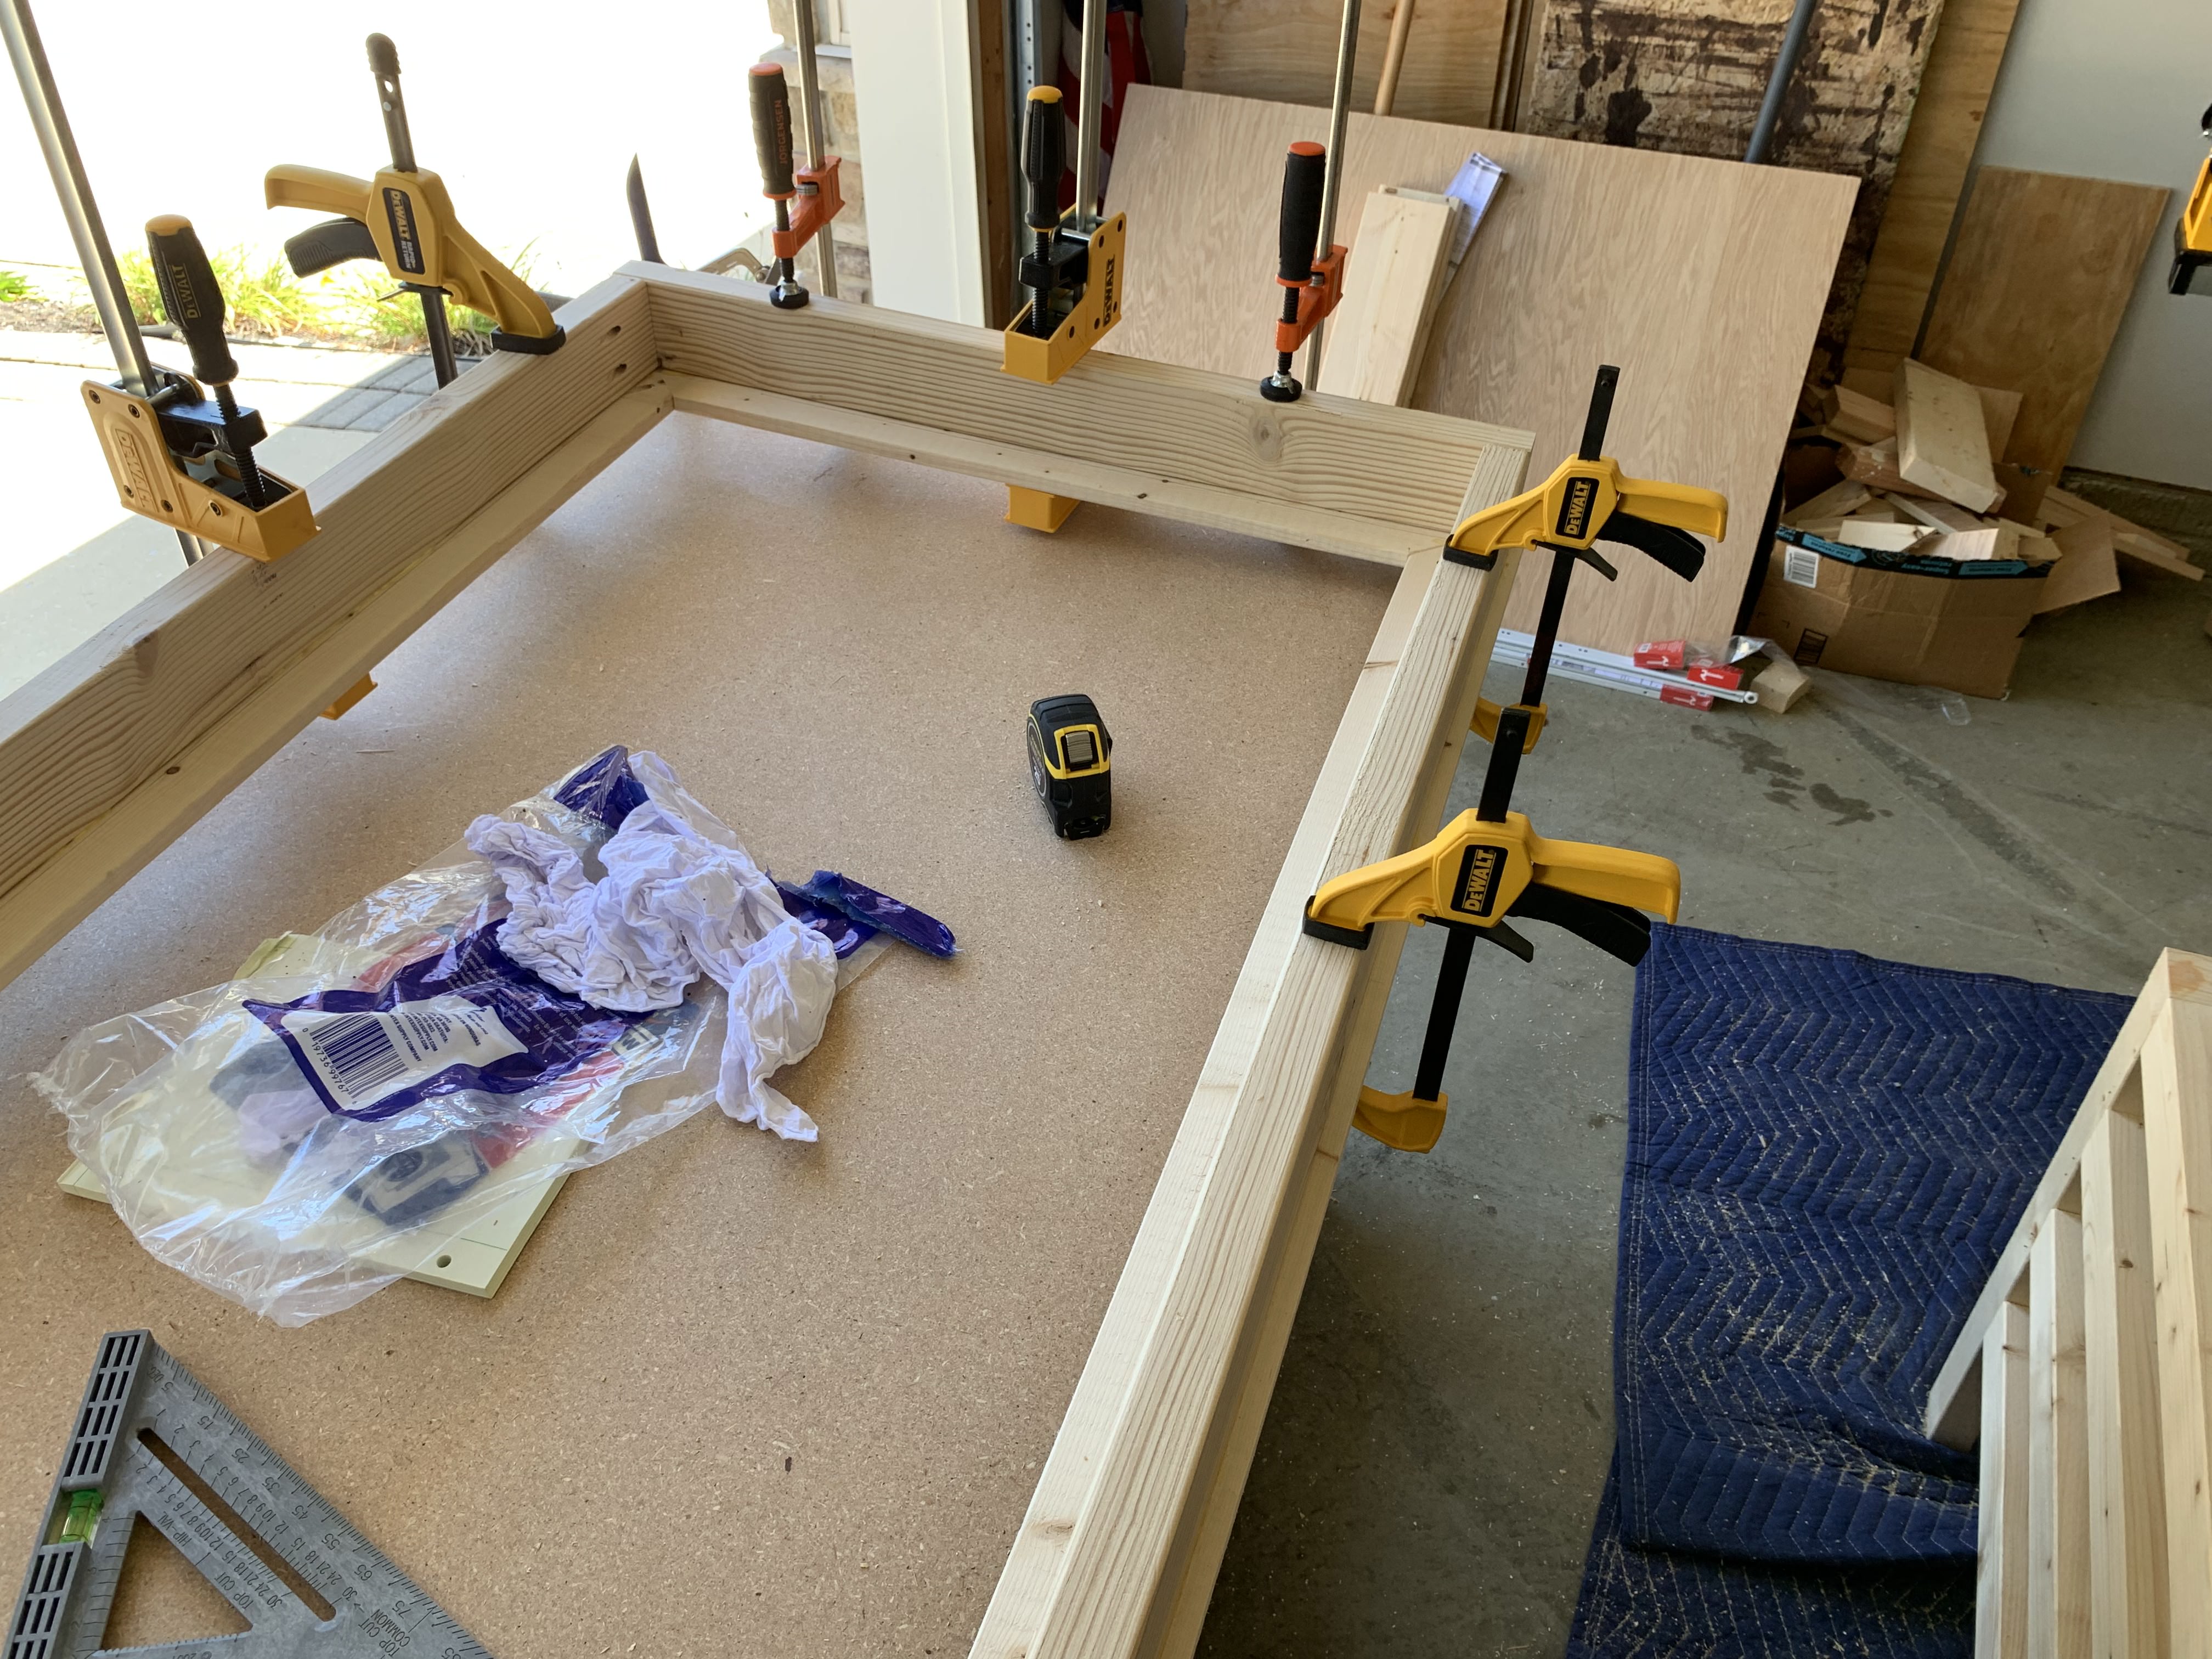
The glue-up
Glass
The mirrored glass for this project was pretty challenging to source. After reading multiple blog posts and trips to various glass distributors, I ended up purchasing ¼” Tempered Pilkington Mirrorview glass. This cost roughly $315 for a 50x30 inch sheet, and if you’re on the East coast, I sourced it from McGrory Glass in NJ. This glass was designed specifically for digital display applications.
TV
The TV has a mirror crack along the edges and through the front pane, however, it was pretty unnoticeable once the TV was on. Its condition wouldn’t warrant a place in the living room, however, it would work perfectly in a magic mirror.
The Build
Once the frame was sanded and coated with a stain, put the frame facedown on the floor. Then, I dropped in the mirror. Once the mirror was in place, I used sticky foam floor protectors on the edge of the wooden frame. I figured since the TV’s frame would be resting on the wood, I wanted to add some extra cushion so the TV’s metal/plastic frame wouldn’t get damaged from any pressure points. After adding the extra cushion, I placed the TV inside the facedown frame on top of the glass. I knew that the Magic Mirror would be leaning backward against something, so in order to keep everything inside the frame, I used L brackets around the TV to hold everything inside.
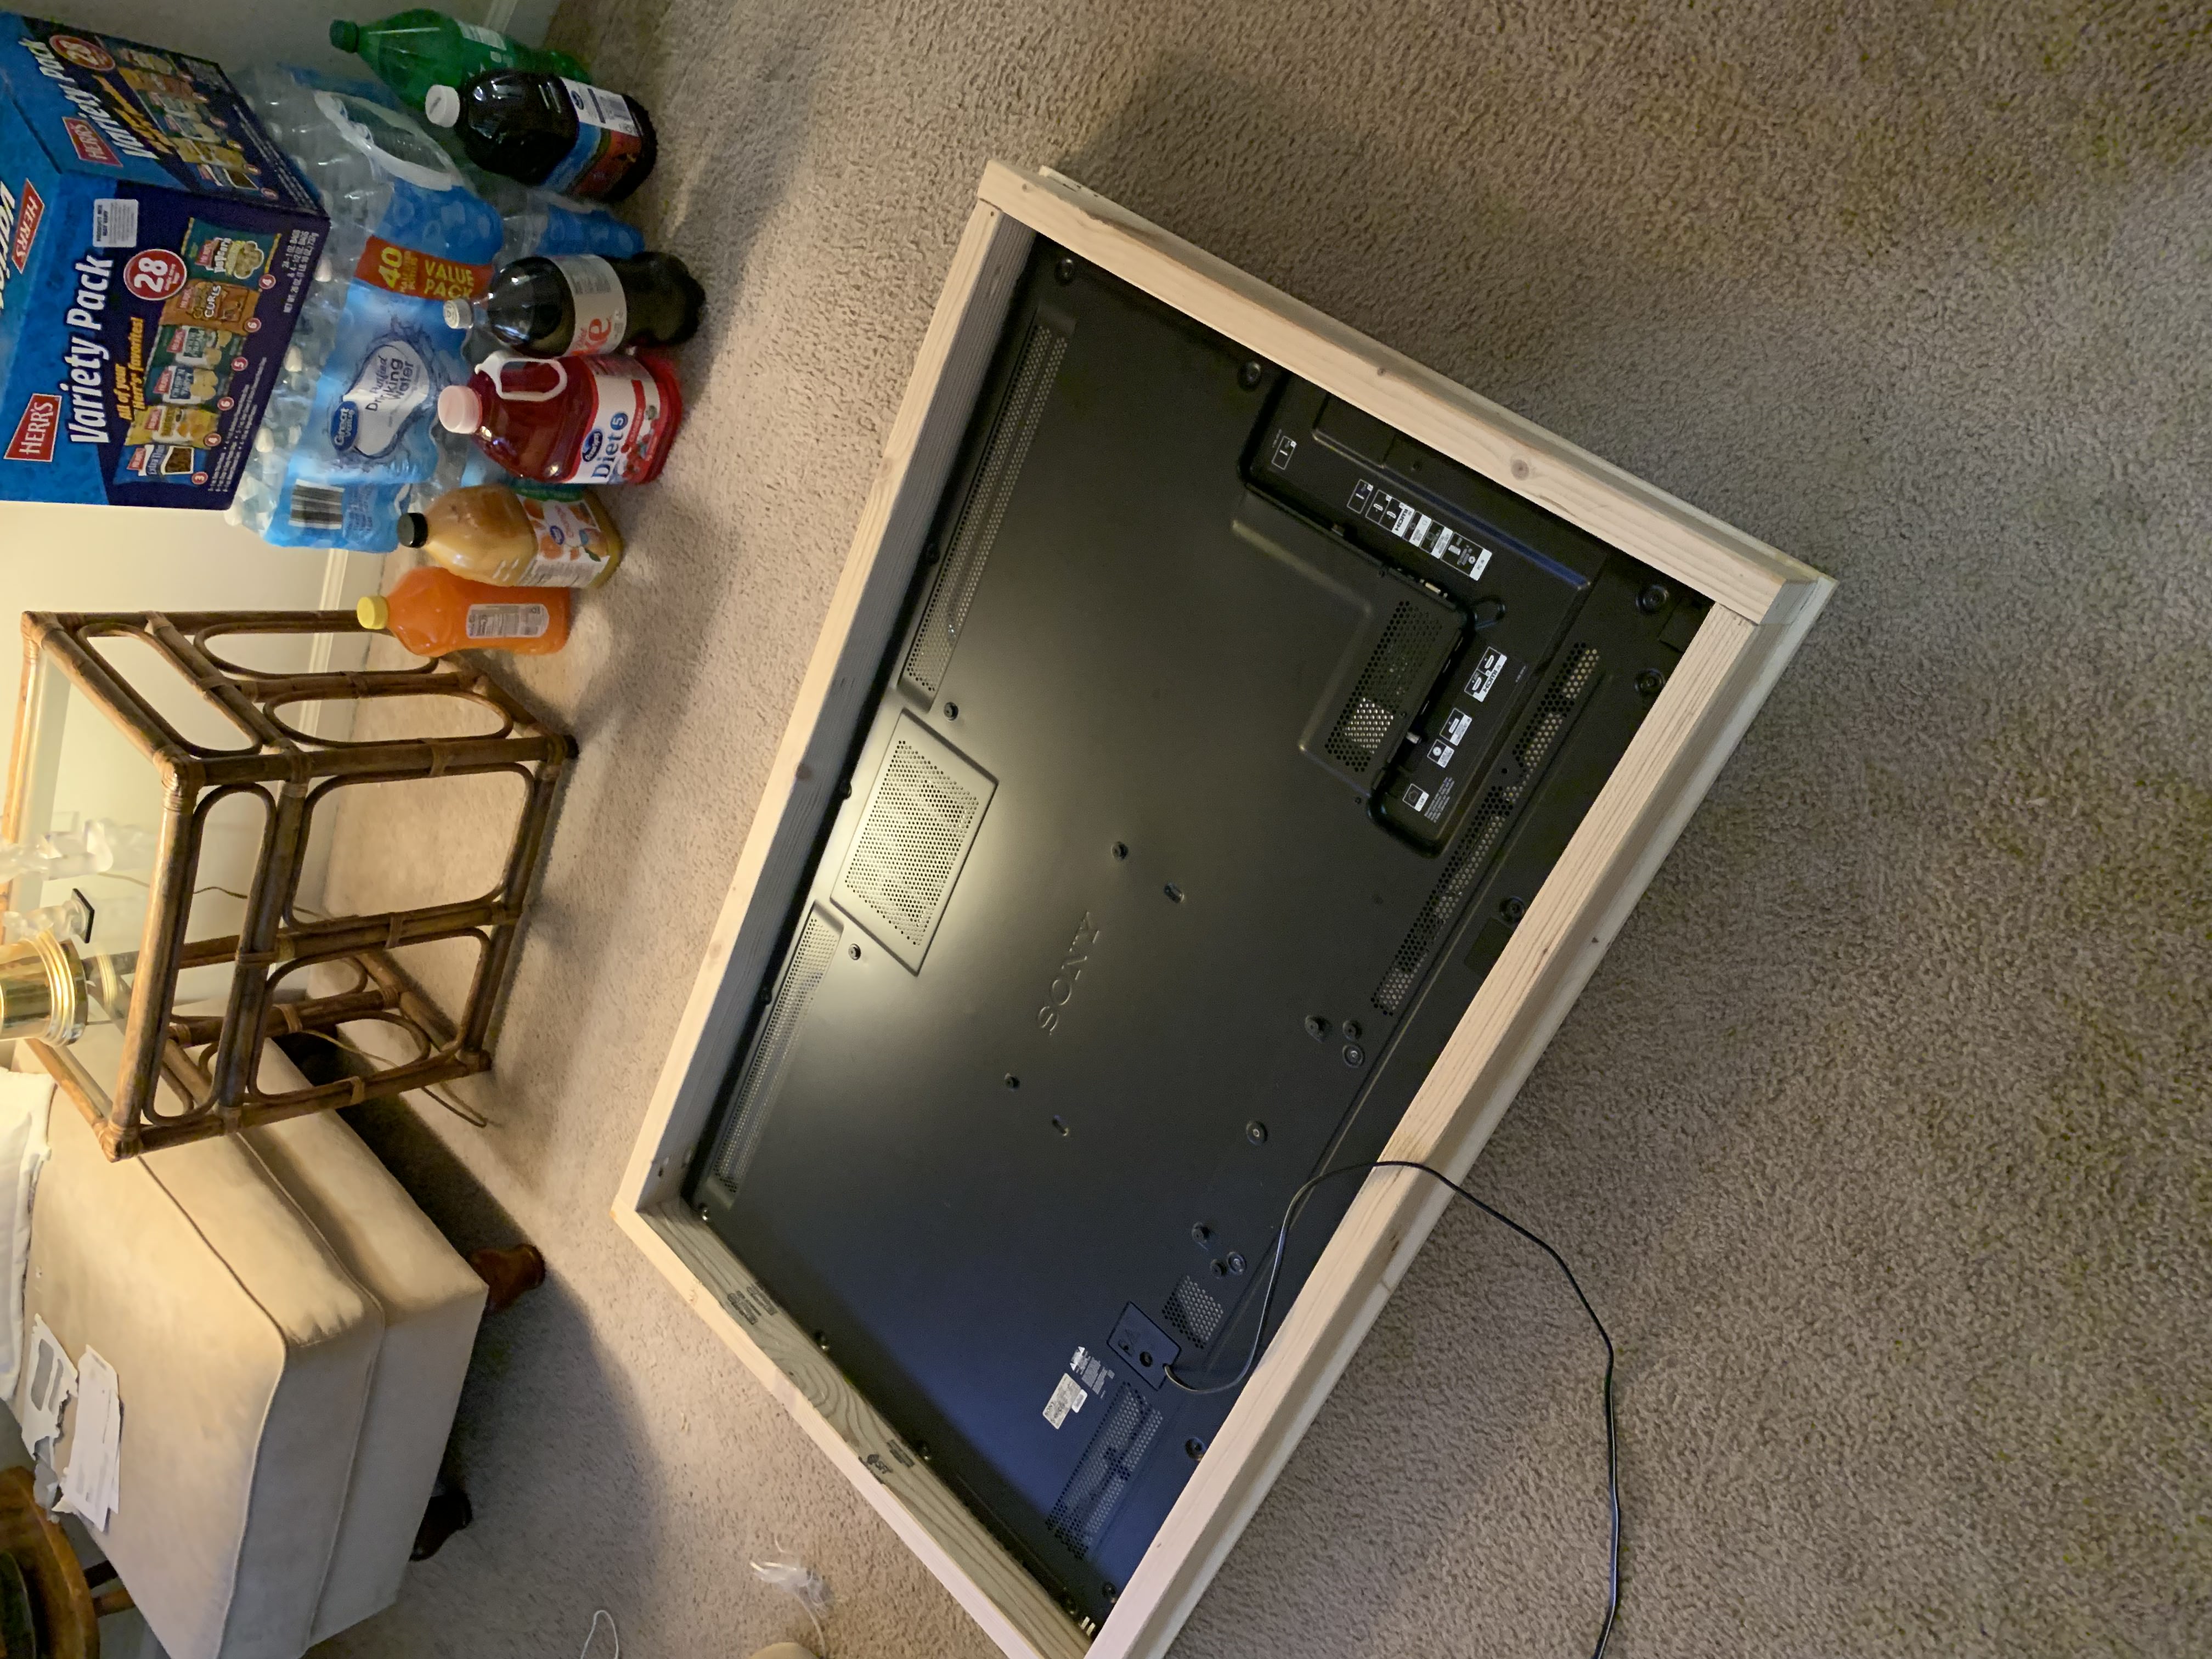
Mirror and TV Sandwich
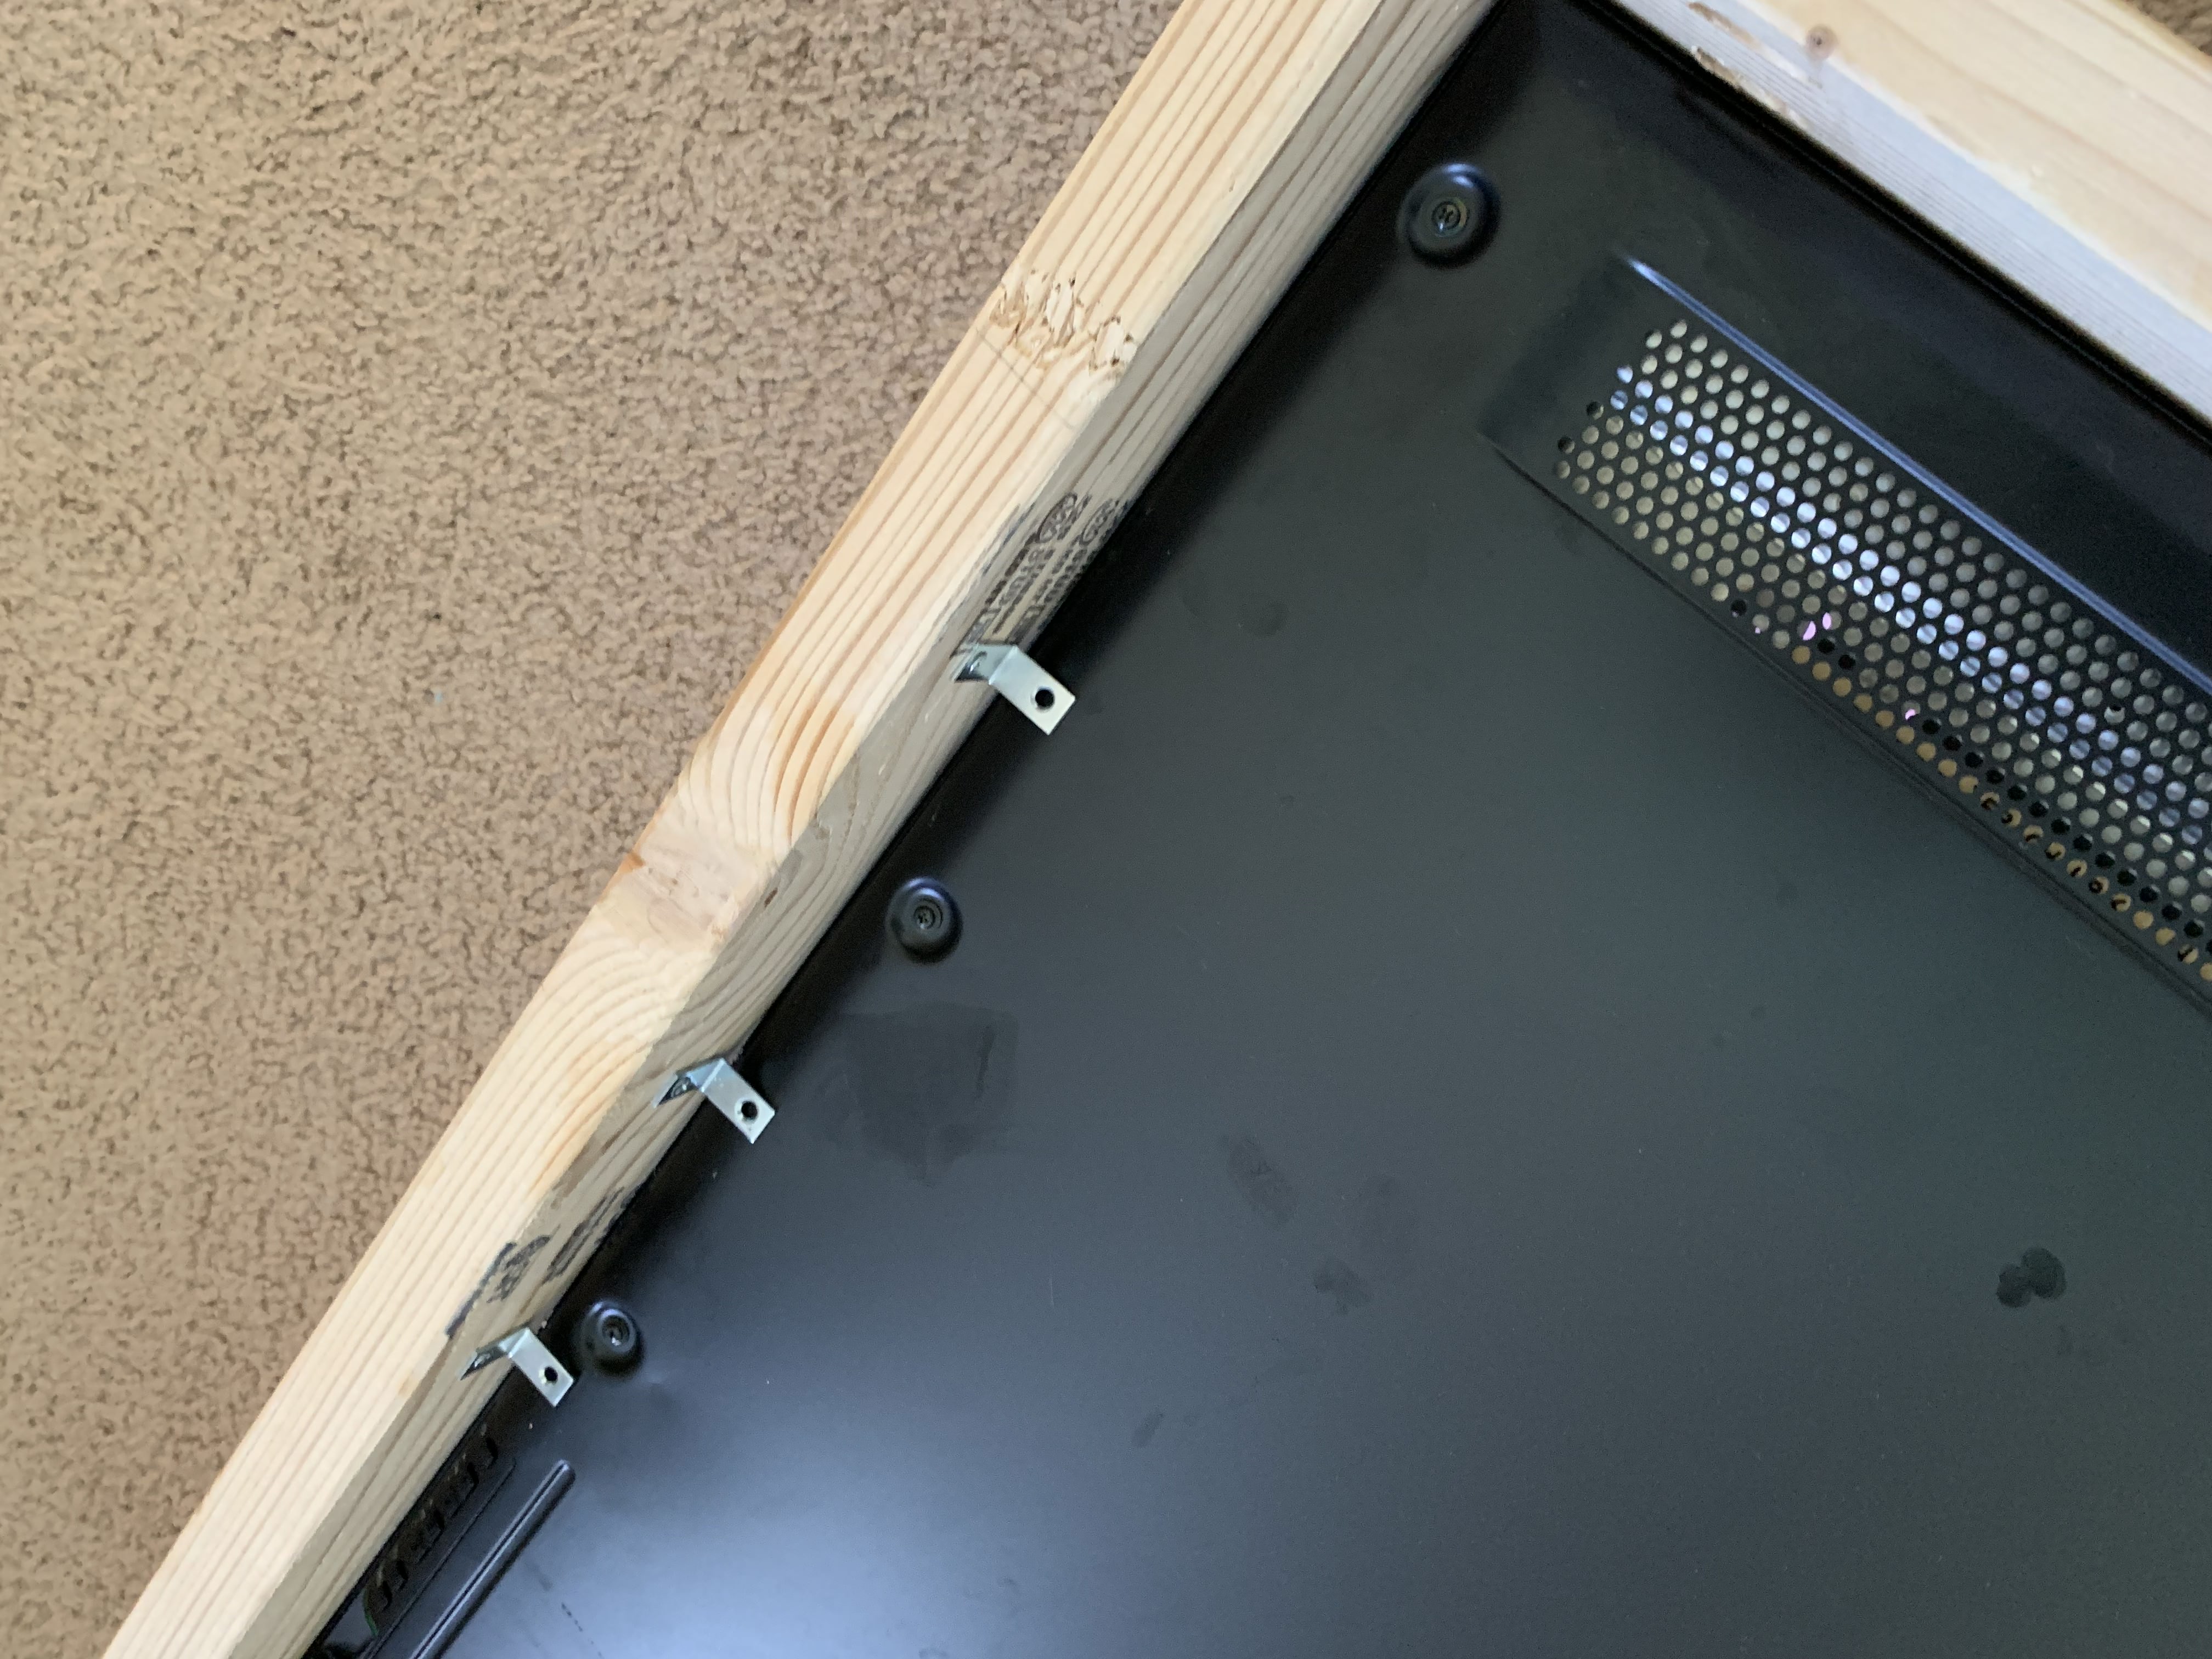
L brackets. I used 8 distributed along the frame
The Programming
The bulk of my time energy went into getting the raspberry pi configuration to run Magic Mirror libary properly. This included:
-Setting up SSH
-Setting up a local development environment
-Allowing my main computer to interact and edit the files on the raspberry pi remotely
-If the power goes out have the raspberry pi automatically restart Magic Mirror
-Installing Magic Mirror packages (this part is fun considering the great open source community of packages)
- Globe
- Remote-Control
- Spotify
- SystemStats
- Built-in Modules used
- Clock
- Calander - Connects to google calendar
- Compliments - Added some fun ones in there
- Weather current
- Weather forecast
- Newsfeed - NY Times
-Turning the Magic Mirror display vertical
After rangling with the CSS for a few hours this ended up working for me. I added this code to the custom.css file
 body {
	margin: 10;
	position: absolute;
 	transform: rotate(90deg) scale(.9);
 	transform-origin: bottom left;
	width: 100vh;
	height: 100vw;
	object-fit: cover;
	top: -100vw;
        visibility: visible;
 }
Since my frame border extends into the TV the scale transformation(scale(.9) helps keep the picture centered within the visible area of the frame.
Summary
This project was a fun build that incorporated woodworking, hardware, and software. Seeing the magic mirror in person you can really appreciate the size of the completed build(almost 5 feet tall). Additionally, the pictures in this post do not do the quality of the mirrored surface and digital display justice. Both look really sharp!
In summary, now our home has a new piece of furniture with a touch of techiness. In the future, I plan on going into more detail on some of the raspberry pi configurations and setup…perhaps next weekend?
More Photos
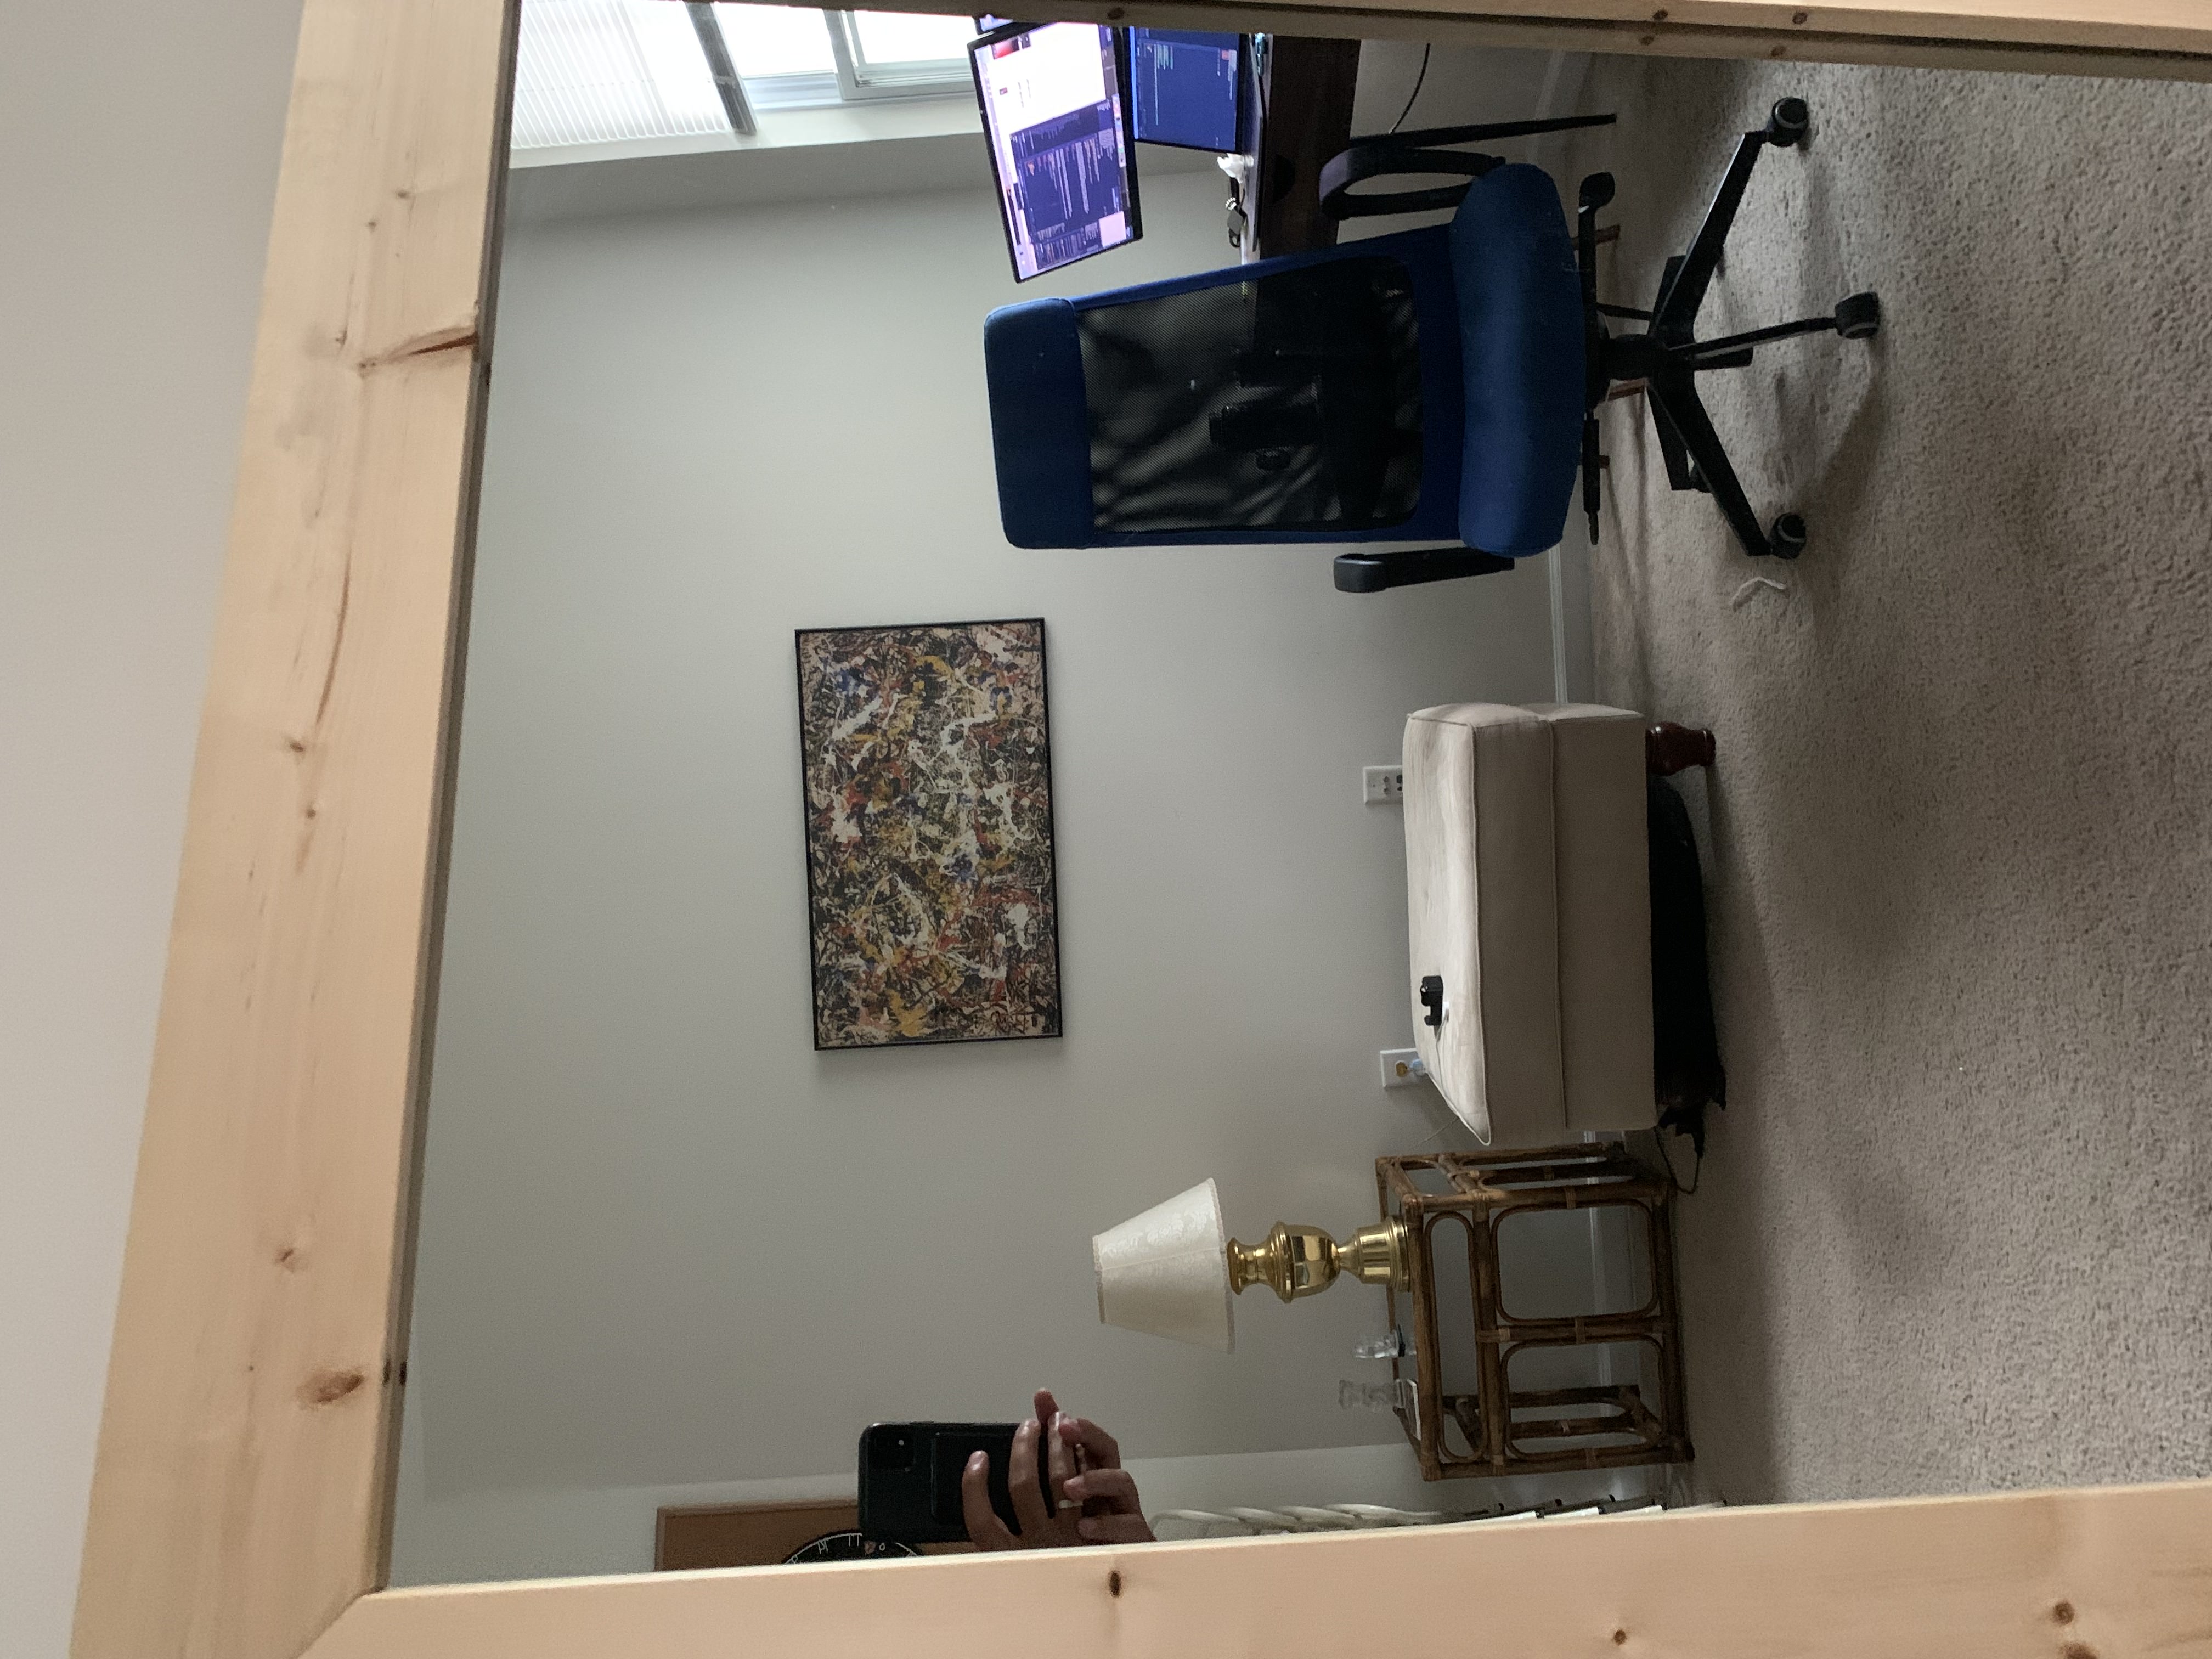
Display off
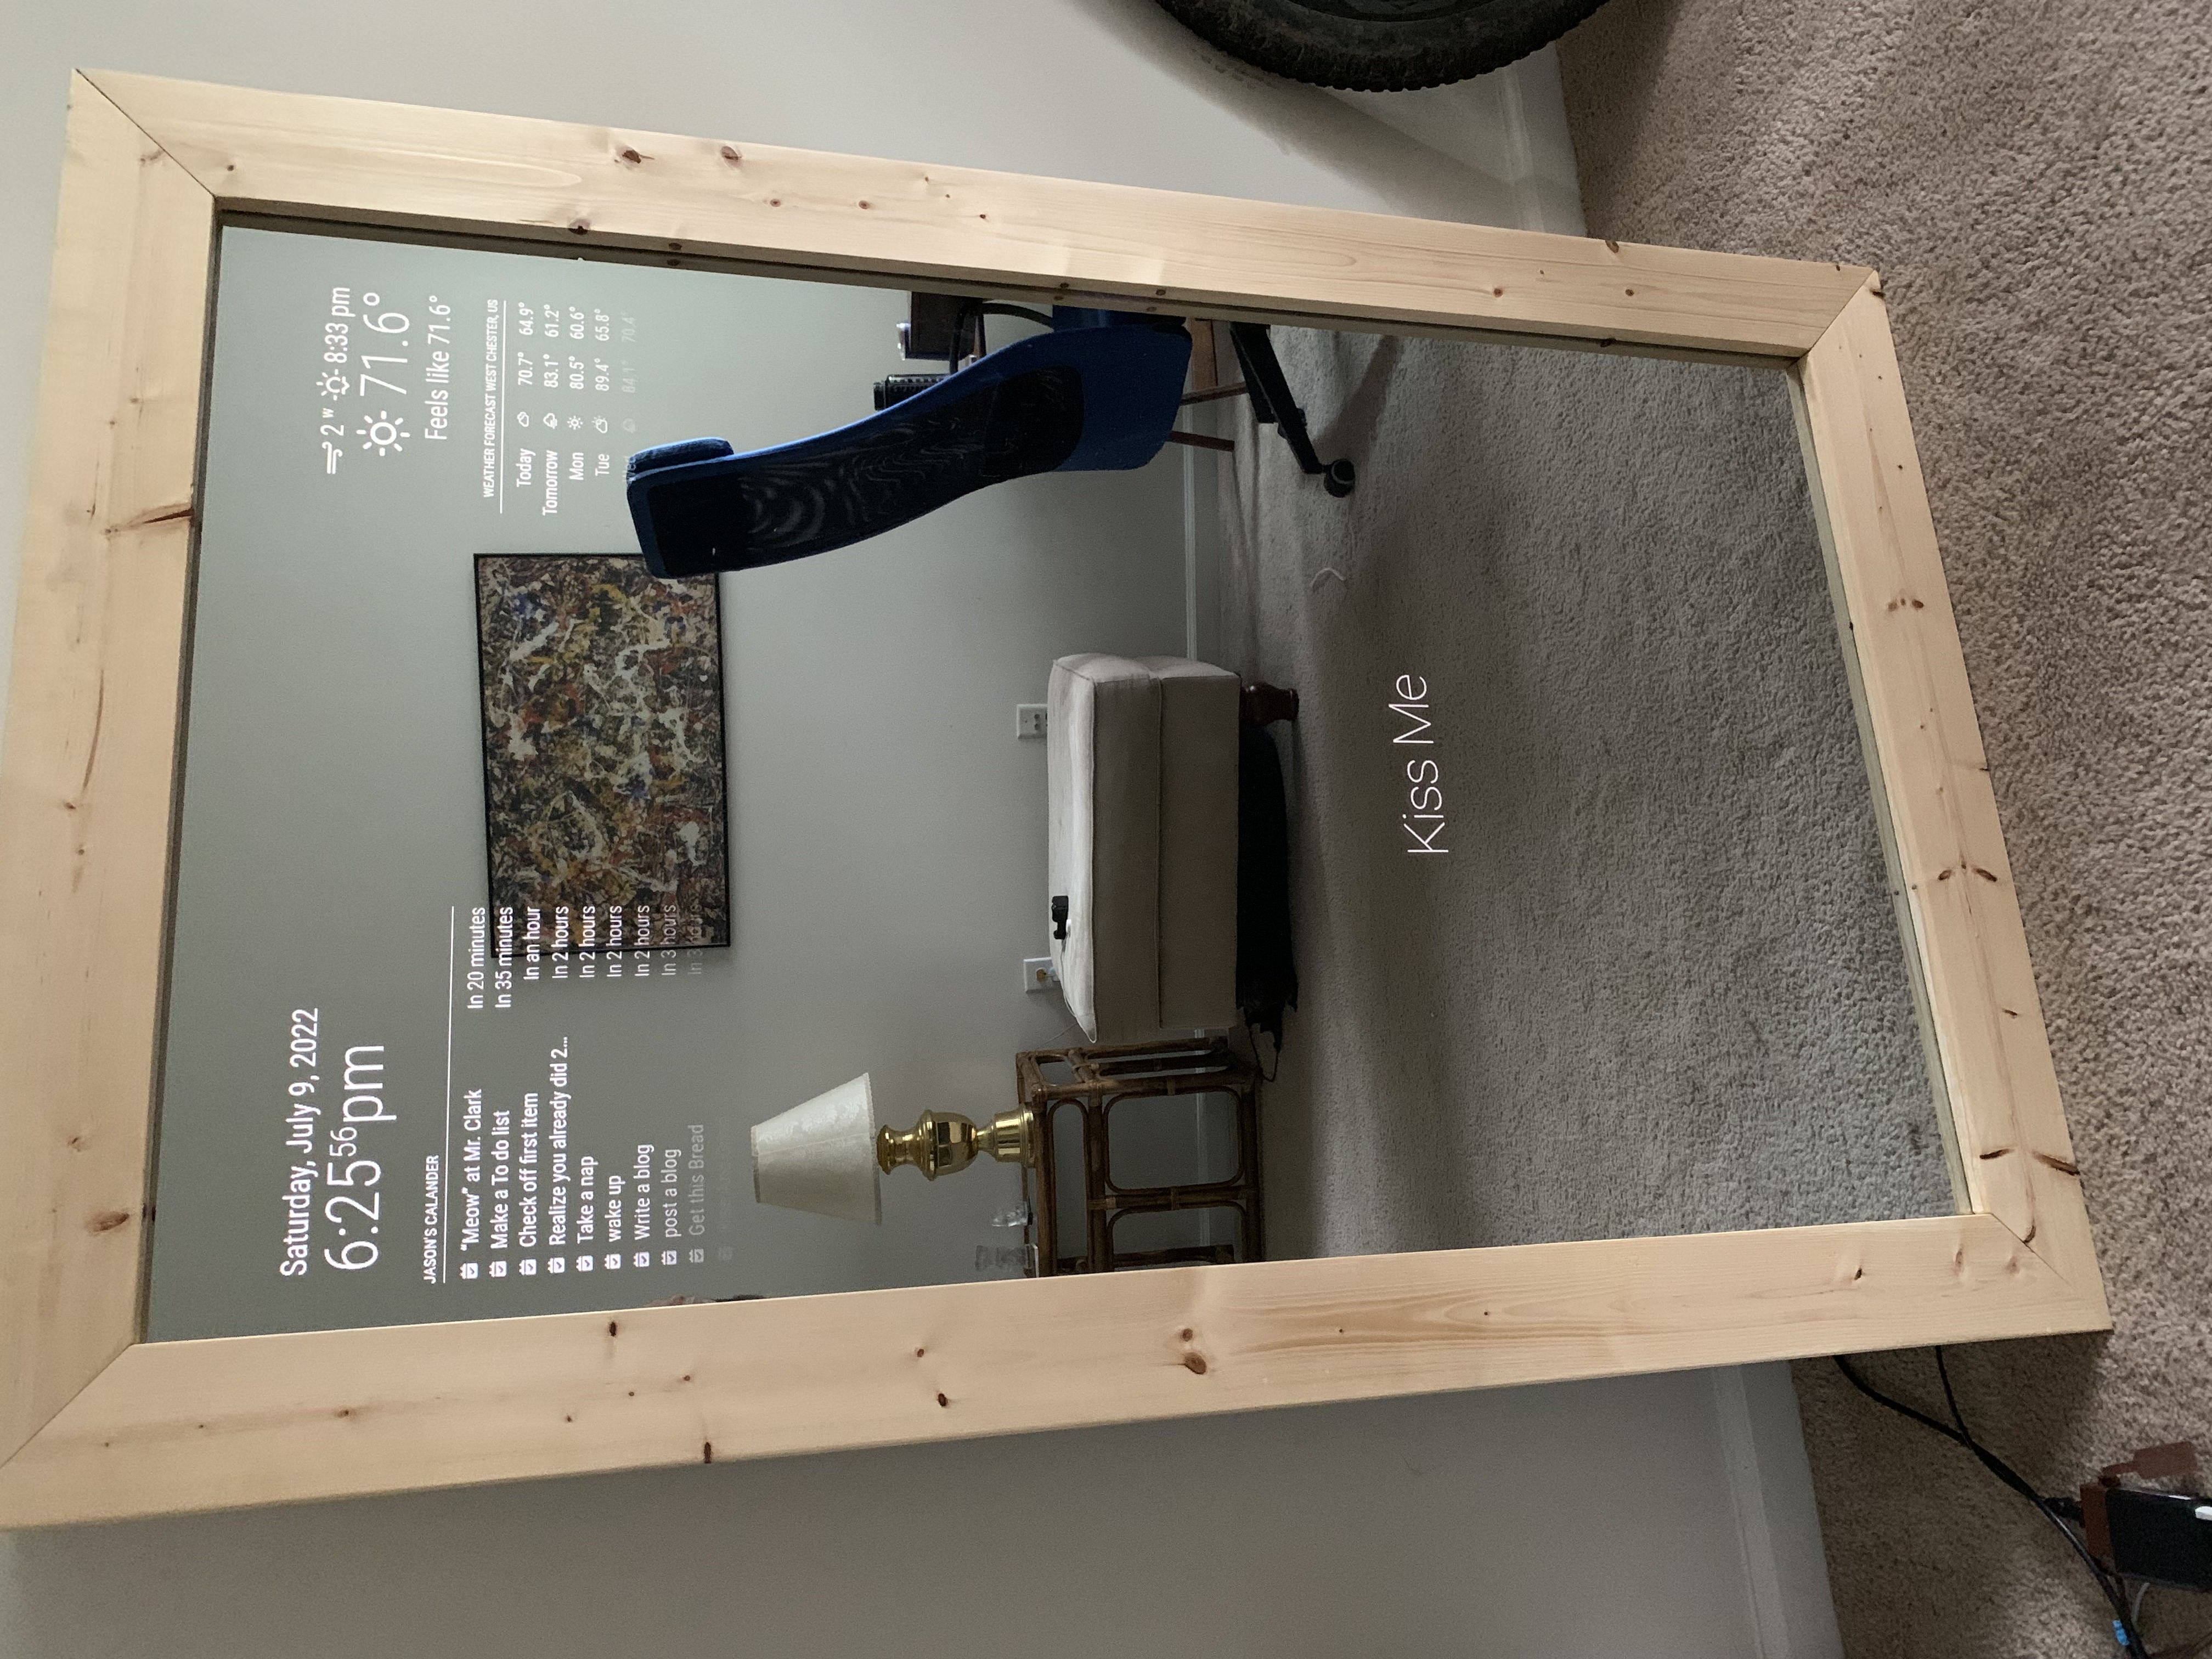
Display on
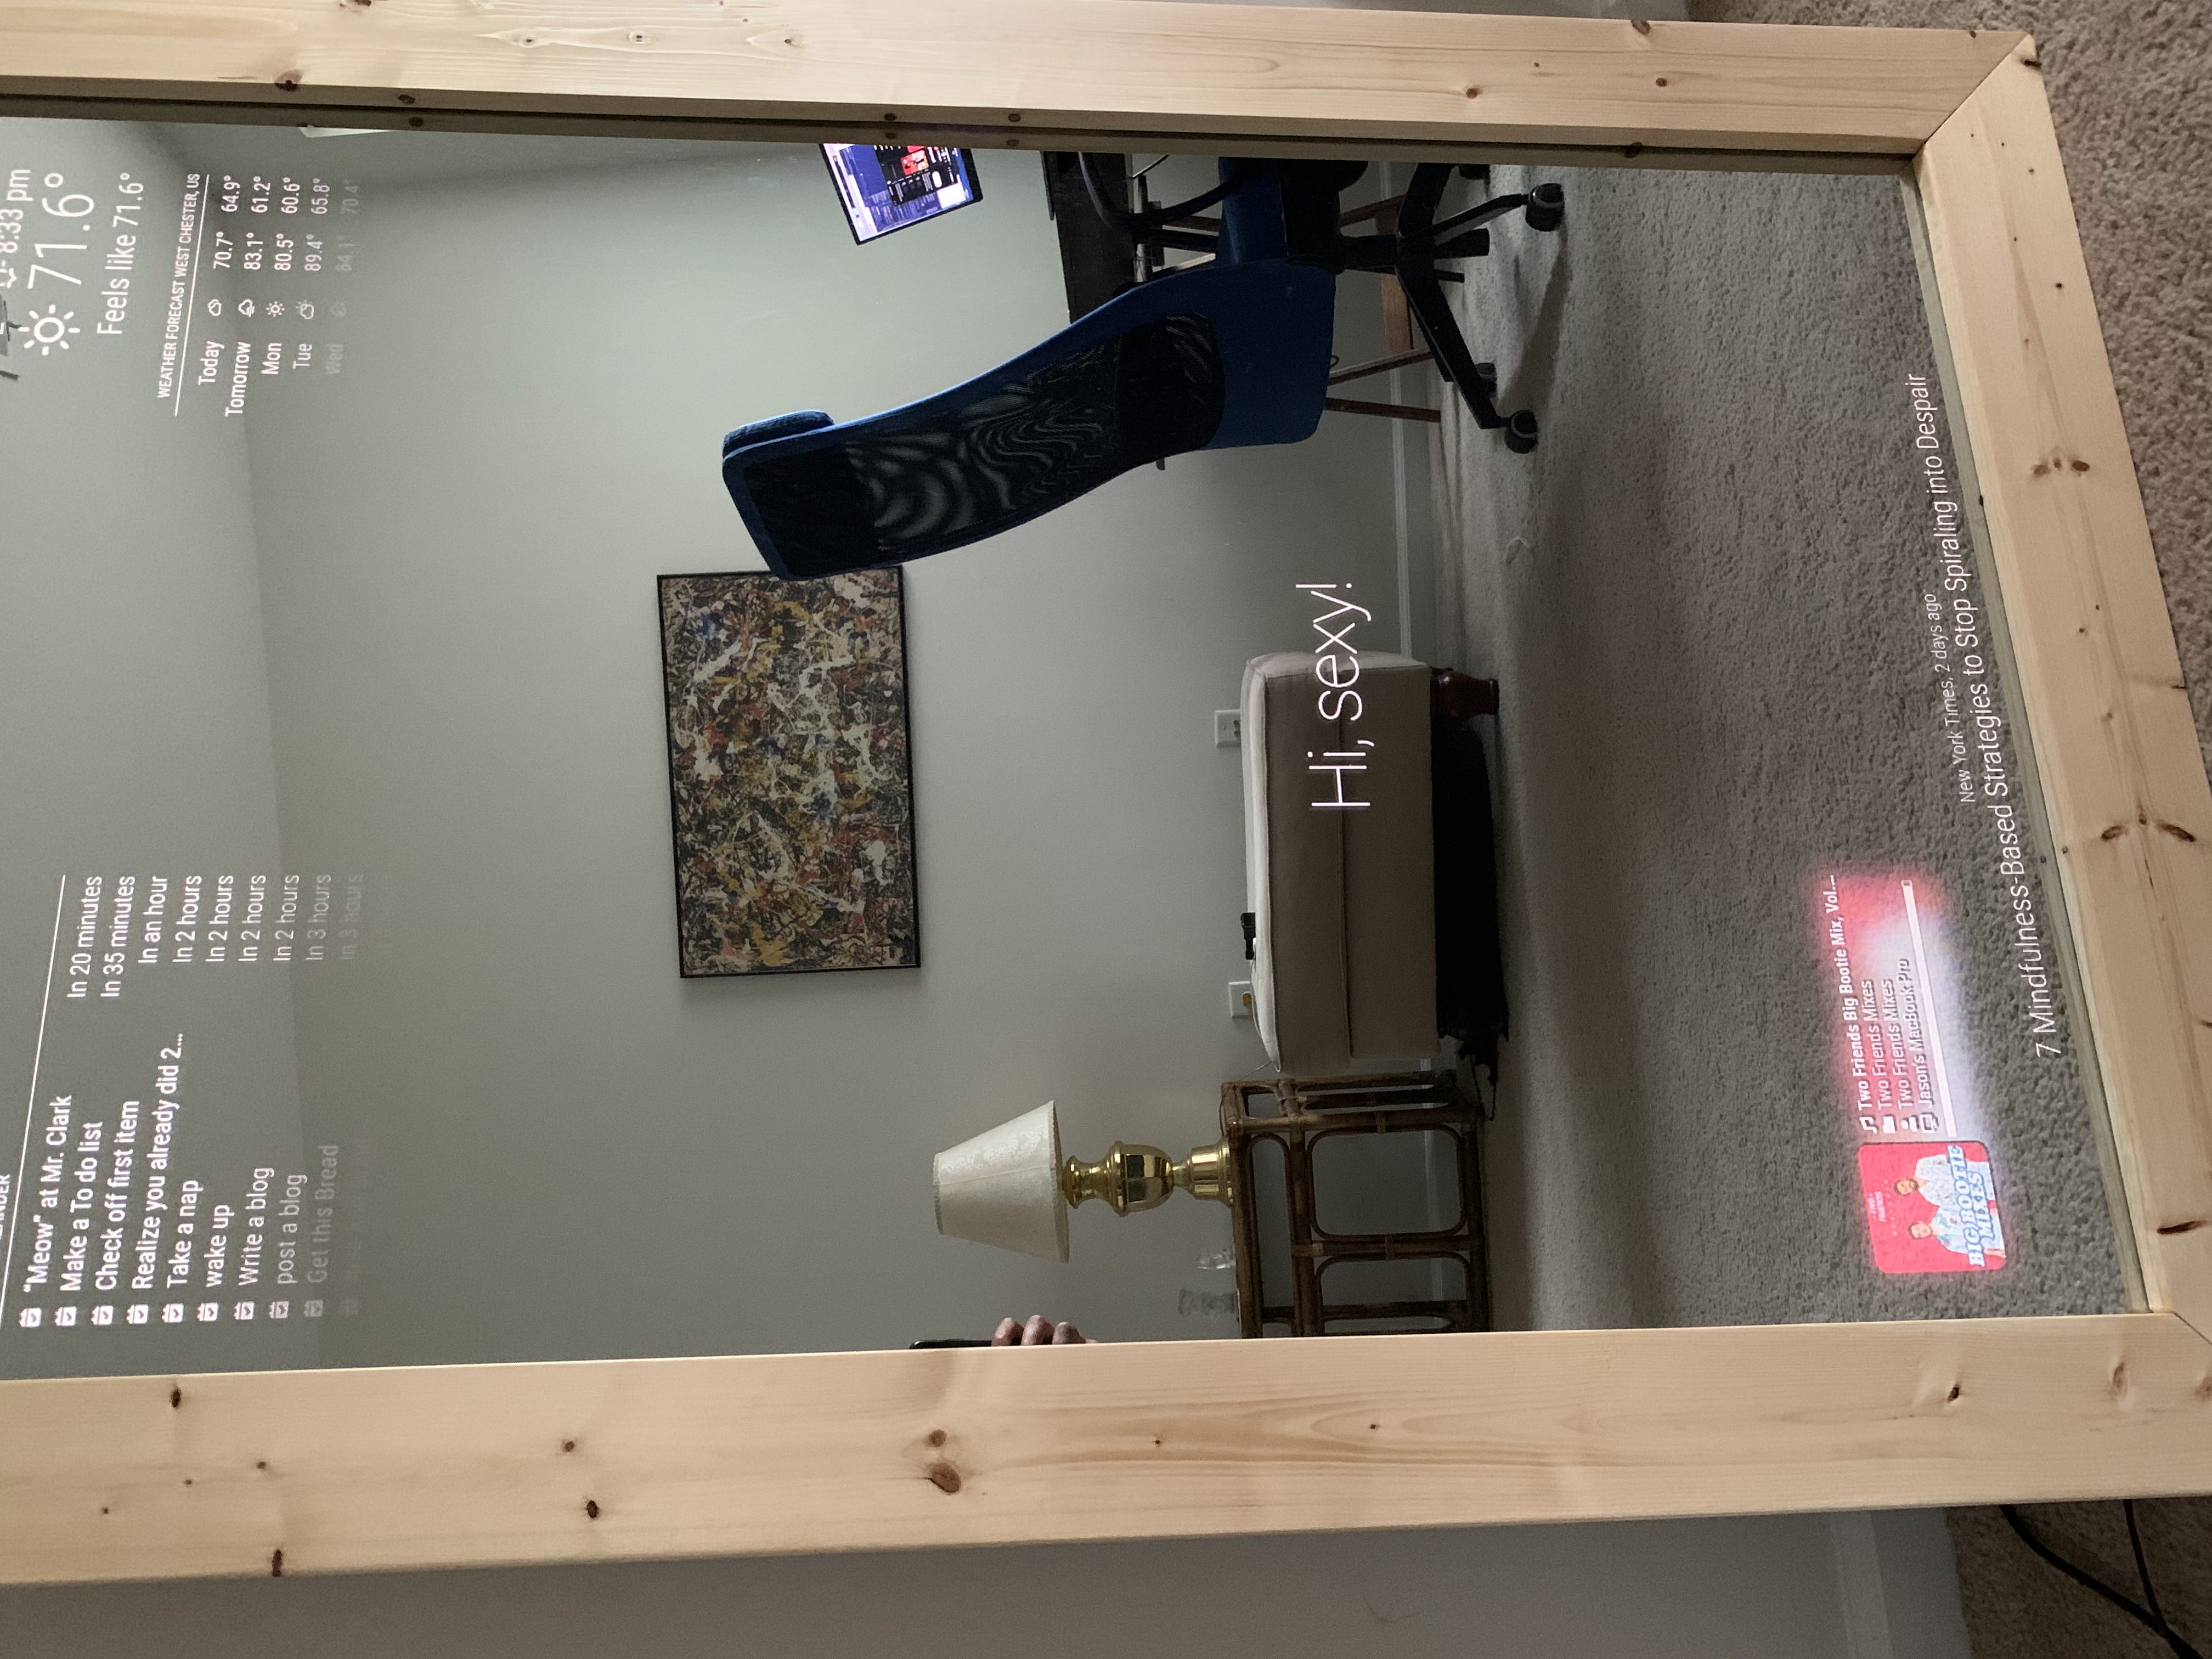
With Spotify Plugin